RESULT PHOTO GUIDE
Aesthetic treatment before and after photos: how to compare results fairly
Before-and-after photographs can help explain a concern, document change and support follow-up, but only when the images are genuinely comparable. Lighting, angle, expression, makeup, camera settings, timing and temporary swelling can make a result look larger or smaller than it is.
Another patient’s photograph cannot predict your outcome. Individual anatomy, skin condition, treatment plan, recovery and response vary.
WHAT PHOTOS CAN SHOW
Use images as documentation, not a promise
A useful photo series can show the starting point, treatment area and change at an appropriate review time. It should support a clinical discussion about the procedure, limitations and individual response rather than replace assessment.
Starting point
Baseline images document the concern before treatment under consistent conditions.
Treatment area
Clear framing helps identify exactly which region and feature are being compared.
Change over time
Images taken at planned intervals can distinguish early recovery from a later result.
Review discussion
Photos help the patient and clinician discuss response, symmetry, progress and next steps.
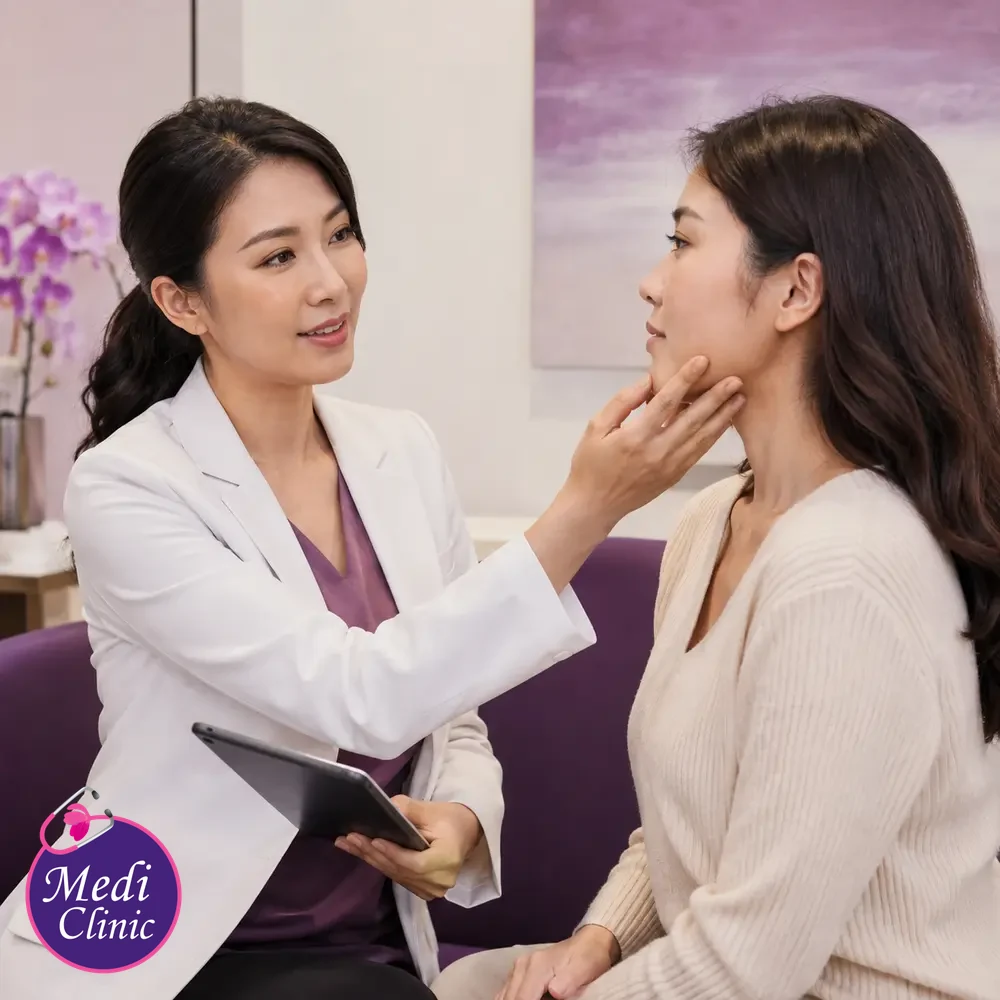
FAIR COMPARISON CHECKLIST
The before and after images should match
Camera and environment
- Similar camera position and distance
- Matching angle, crop and head position
- Consistent lighting direction and intensity
- Comparable background and image quality
- No beauty filters, reshaping or skin smoothing
- Similar lens and perspective where possible
Patient presentation
- Similar facial expression and muscle activity
- Comparable posture and body position
- No makeup or equivalent makeup conditions
- Hair moved consistently away from the area
- Clear date or time point for each image
- No temporary swelling presented as a final result

COMMON VISUAL DISTORTIONS
Small photography changes can create a large apparent difference
Before accepting a dramatic comparison, look at features that should not have changed. A different nose size, face width, background perspective or shadow pattern may indicate that the camera, lens, distance or lighting changed.
Lighting
Front lighting can soften texture and shadows, while side lighting can make lines, pores or contours appear stronger.
Angle and expression
Chin position, smiling, eyebrow movement or turning the face can change the appearance of shape and lines.
Lens and distance
A close wide-angle image and a more distant portrait image can show different facial proportions.
RESULT TIMING
An early photograph may show recovery, not the final outcome
Different procedures have different response timelines. Redness, swelling, dryness, bruising, hydration change or temporary tightness may affect early photographs. Ask when the exact treatment can be judged fairly and whether more than one review point is useful.
PHOTOS BY TREATMENT CATEGORY
Different goals need different views
The useful angle, lighting and review time depend on what is being assessed. Ask what the photographs are intended to document.
Pigment and texture
Consistent lighting, distance, skincare and makeup conditions are important because glare and shadows can change visibility.
Explore treatment solutionsFacial contours
Matching head position, expression, lens and distance helps prevent perspective from creating a false shape change.
Explore products and injectablesLines and movement
Images should state whether the face is relaxed or making the same expression at both time points.
View injectable optionsDevices and tightening
Gradual response may require later photographs, with consistent posture and clearly identified treatment dates.
Explore technologiesYOUR OWN PROGRESS PHOTOS
Create a simple record between clinic reviews
If the clinic asks you to send photographs, use a repeatable setup. Do not edit the images. Contact the treating clinic promptly when a change is stronger, spreading, worsening or different from the recovery pattern explained.
Repeatable home setup
- Use the same room and neutral background
- Stand at the same distance from the camera
- Use front and matching side views
- Keep expression, posture and hair consistent
- Avoid filters, portrait effects and retouching
Information to include
- Treatment date and treated area
- Date and time of each photograph
- Symptoms and whether they are changing
- Recent skincare, medicine or activity
- The question you want the clinic to assess
PRIVACY AND CONSENT
Clinical photographs and marketing photographs are different uses
Ask why photographs are being taken, where they will be stored, who may see them and whether they are intended only for clinical records or also for education or marketing. You should understand the proposed use before agreeing.
If a published image is cropped or anonymised, consider whether tattoos, jewellery, background details or distinctive features could still identify the person.
Medi Clinic Taman Molek
No. 45, Jalan Molek 1/5A, Taman Molek, 81100 Johor Bahru
Daily, 10:00 am to 6:00 pm
+60 16-710 9576
Medi Clinic Eco Botanic
2C-27, Jalan Eko Botani, Persiaran Eko Botani 2, 79100 Iskandar Puteri
Daily, 10:00 am to 6:00 pm
+60 19-948 8196
Singapore visitors can use dated images to support follow-up, but photographs do not replace an in-person assessment when one is needed. Read the Singapore patient guide.
FREQUENTLY ASKED QUESTIONS
Before-and-after photo FAQs
Can before-and-after photos guarantee my aesthetic treatment result?
No. They show another person’s documented response under particular conditions. Your anatomy, skin, treatment plan, recovery and response may differ.
What makes before-and-after photos comparable?
Camera position, distance, lens, angle, crop, lighting, expression, posture, makeup and timing should be as consistent as possible.
When should an after photo be taken?
The useful review time depends on the procedure. Early images may show temporary recovery effects, while some results require a later assessment.
Can I send home photos to the clinic for follow-up?
Yes, when requested. Use consistent lighting and angles, do not edit the images and include the treatment date, symptoms and your question.
Should multiple treatment sessions be disclosed with result photos?
Yes. The dates and number of sessions help viewers understand whether the comparison reflects one appointment or a complete course.
Can my clinical photos be used for marketing?
Clinical records and marketing are different uses. Ask why images are being taken, how they will be used and what consent is being requested.
COMPARE CAREFULLY
Good photographs support honest expectations
Look for consistent technique, clear timing and complete treatment context before using an image to guide your decision.


